Configure a Raspberry Pi from scratch
Earlier this year, I converted my old desktop into a Proxmox server (you’re probably wondering why I’m talking about Proxmox on a post discussing the Raspberry Pi but we’ll get there) in an effort to offload the work of virtualizing VM’s on my devices. Whether it was a development VM or a Kali VM for my cybersecurity related activities, I was creating and managing VM’s on multiple devices. Setting up the Proxmox server resulted in a one-stop-shop for all of my VM’s and being able to remotely access them using Tailscale.
Unfortunately, the old desktop I had was limiting in resources and the Proxmox instance was shutting down or rebooting several times in a day. Like the lazy technical engineer I am, I decided to buy a server off of EBay that a coworker recommended with greater resources and an Intel Xeon CPU (dedicated for servers?). Ideally, I would love to build a homelab with rack-mounted hardware but I am cheap at the moment so this will do. This post and subsequent posts will bring you on my journey of setting up a homelab from scratch. The posts may not be in an order that make sense but we’ll start with configuring a Raspberry Pi.
Raspberry Pi
Why the Raspberry Pi? One, I had it lying around and thought I’d make use of it. Two, my coworker (the same one who recommended the EBay server) mentioned that he set up Proxmox Backup Server (PBS) as a Docker container on the Raspberry Pi. PBS is a storage option to backup VM’s from Proxmox Virtual Environment (PVE) nodes on a regular schedule and restore them onto any node. This is similar to VMWare or VirtualBox’s snapshot ability and being able to restore them but on steroids. This also meant I could back up the VM’s from my old desktop hardware onto the newly purchased server hardware.
In your case, you might want to install the Pi for any number of reasons. Potentially as a Minecraft server? Satisfactory server? Linux computer to practice your skills? The sky’s the limit. The steps here might be skewed towards my purpose but cherry pick whatever you think you’ll need. I’ll document how to configure the Raspberry Pi without any peripherals required other than your laptop as well as:
- networking
- authentication (password and SSH keys)
- docker
- mounting an external storage device
With that, let’s get started.
Raspberry Pi Imager
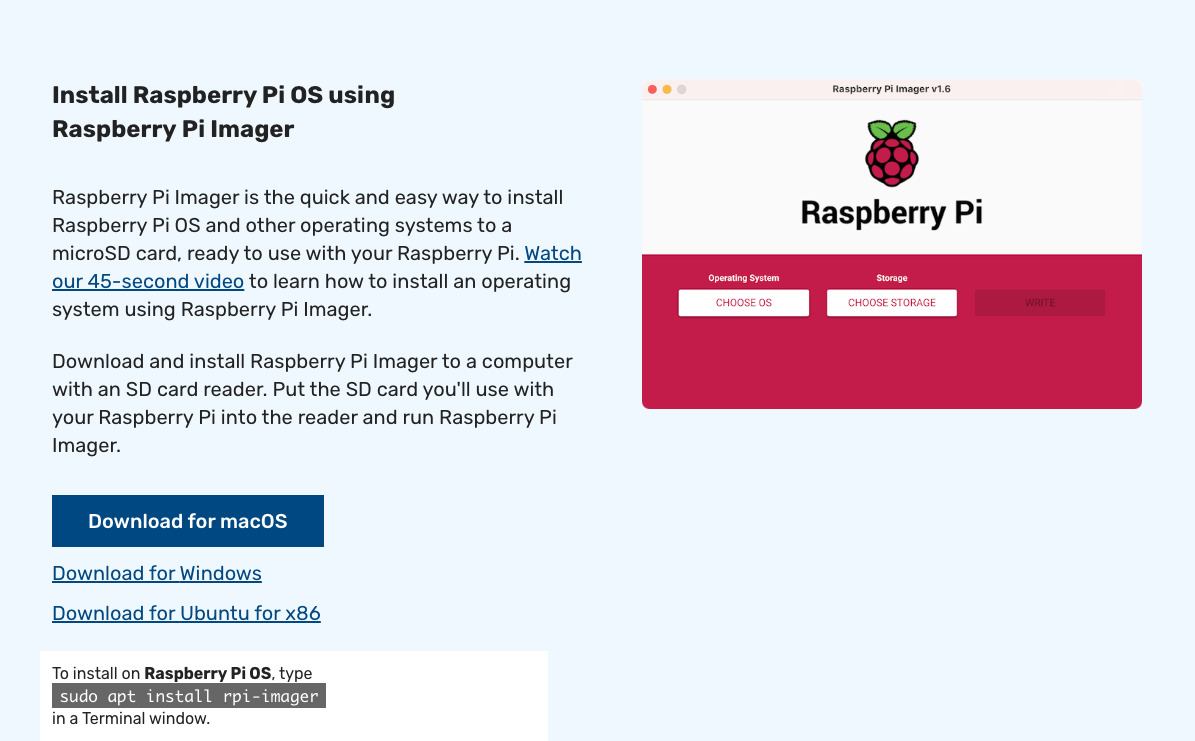
The Raspberry Pi foundation developed the Raspbery Pi Imager software 1, a fantastic tool to quickly install and flash the OS onto an SD card as well as configure the networking. Now, no longer shall we need peripherals to access the Raspberry Pi. So long as you have an SSH client like Putty (Windows) or the native client on Linux and Unix devices, you’re golden.
Download the Imager. I’ll be performing the following steps from a macOS computer but the steps should be similar.
Insert your SD card and launch the RPi imager software.
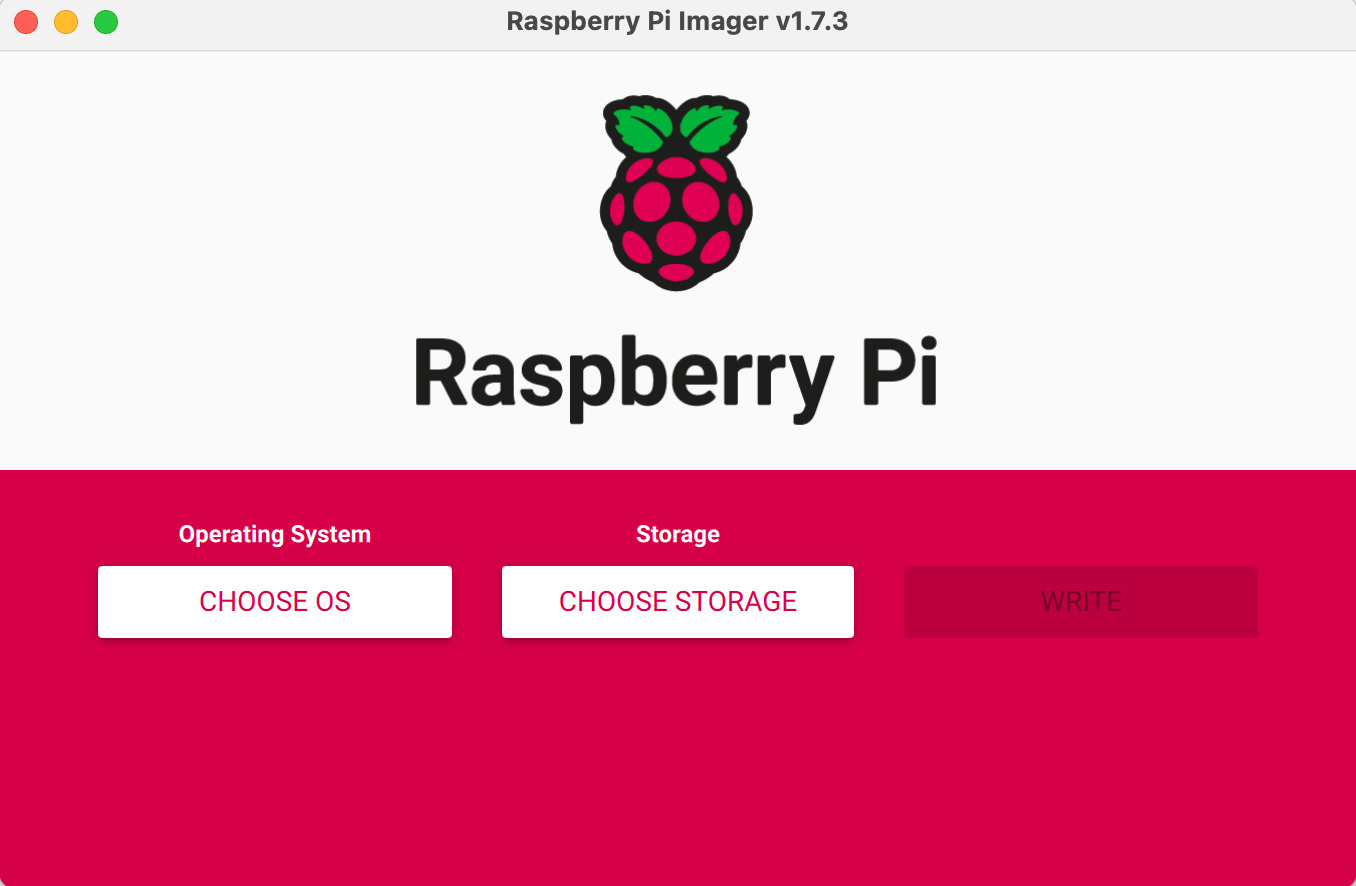
Select the OS that you’d like to install.
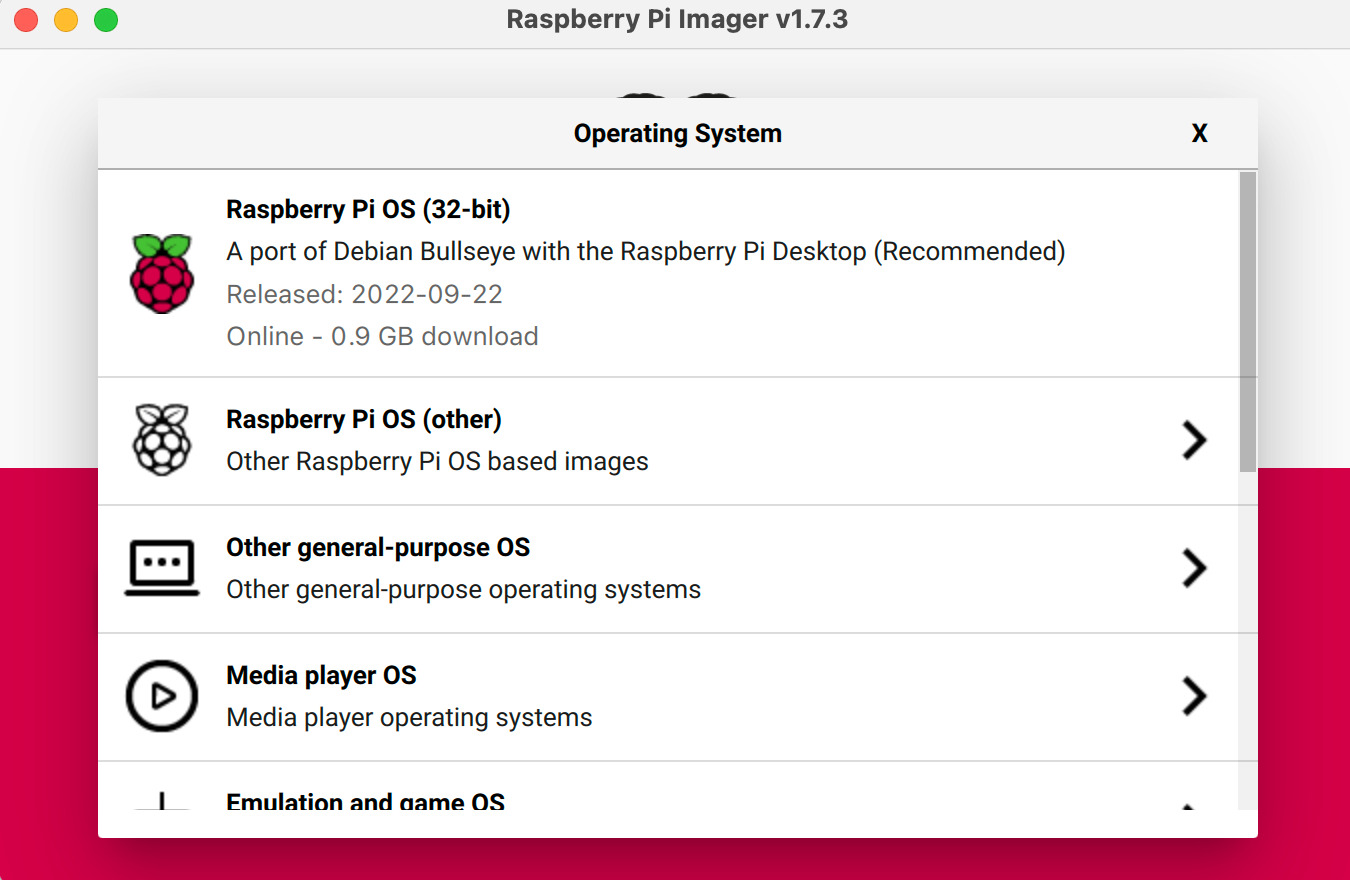
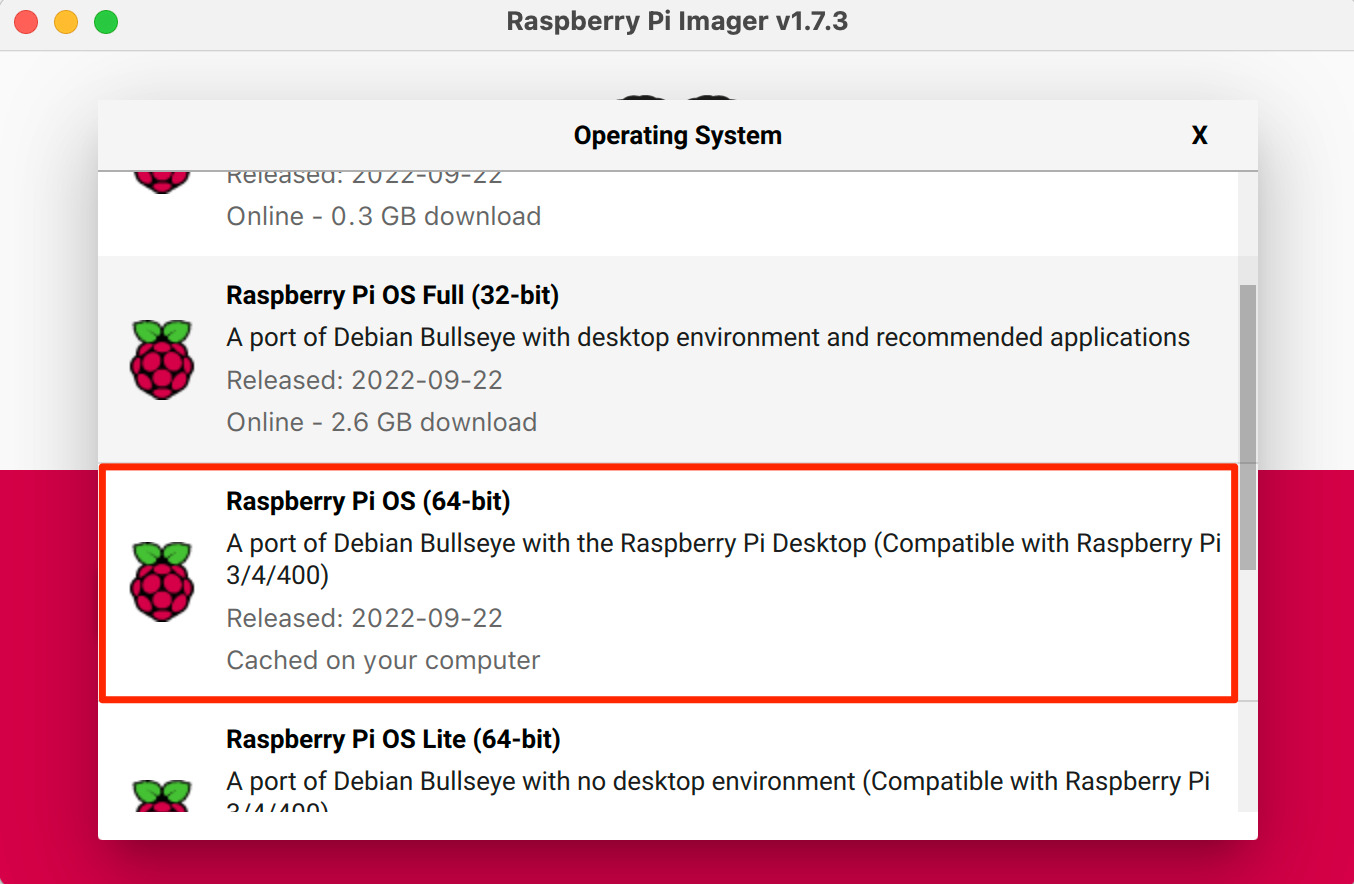
For myself, I’m going to install the Raspberry Pi OS (64-bit) option. I made this mistake in a prior build but if you’re going to install 64-bit software, select the 64-bit OS option. I banged my head for hours trying to deploy PBS (64-bit software on 32-bit OS).
Next, select the SD card as the storage option to write the OS to.
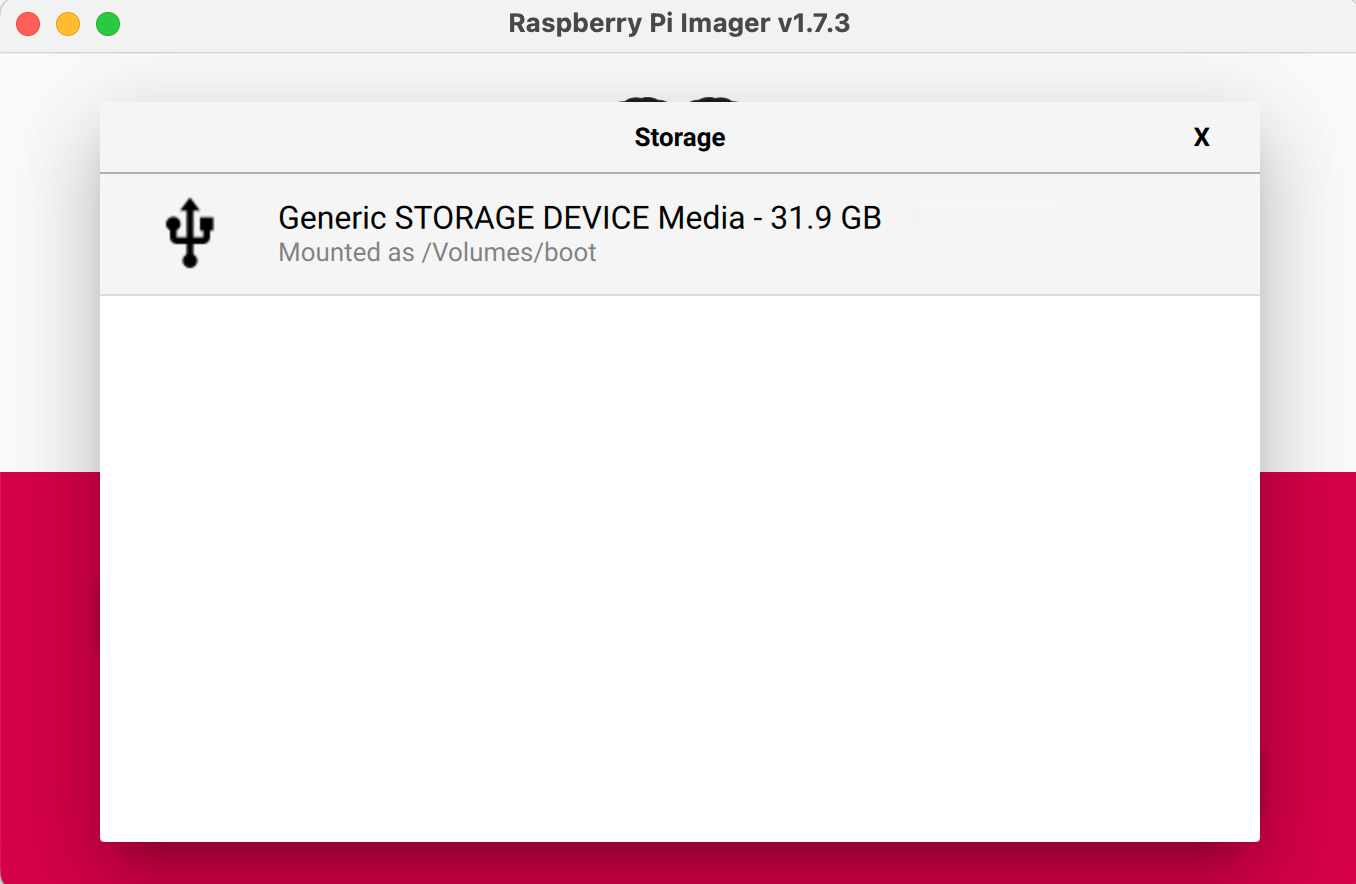
Click on the gear icon for advanced options where we’ll configure the hostname, SSH configuration, and networking. I’m not sure on other OS’s but when you open the advanced options on Mac, you may be prompted to pre-fill the Wi-Fi password from your Keychain. Hit yes if you’d like.
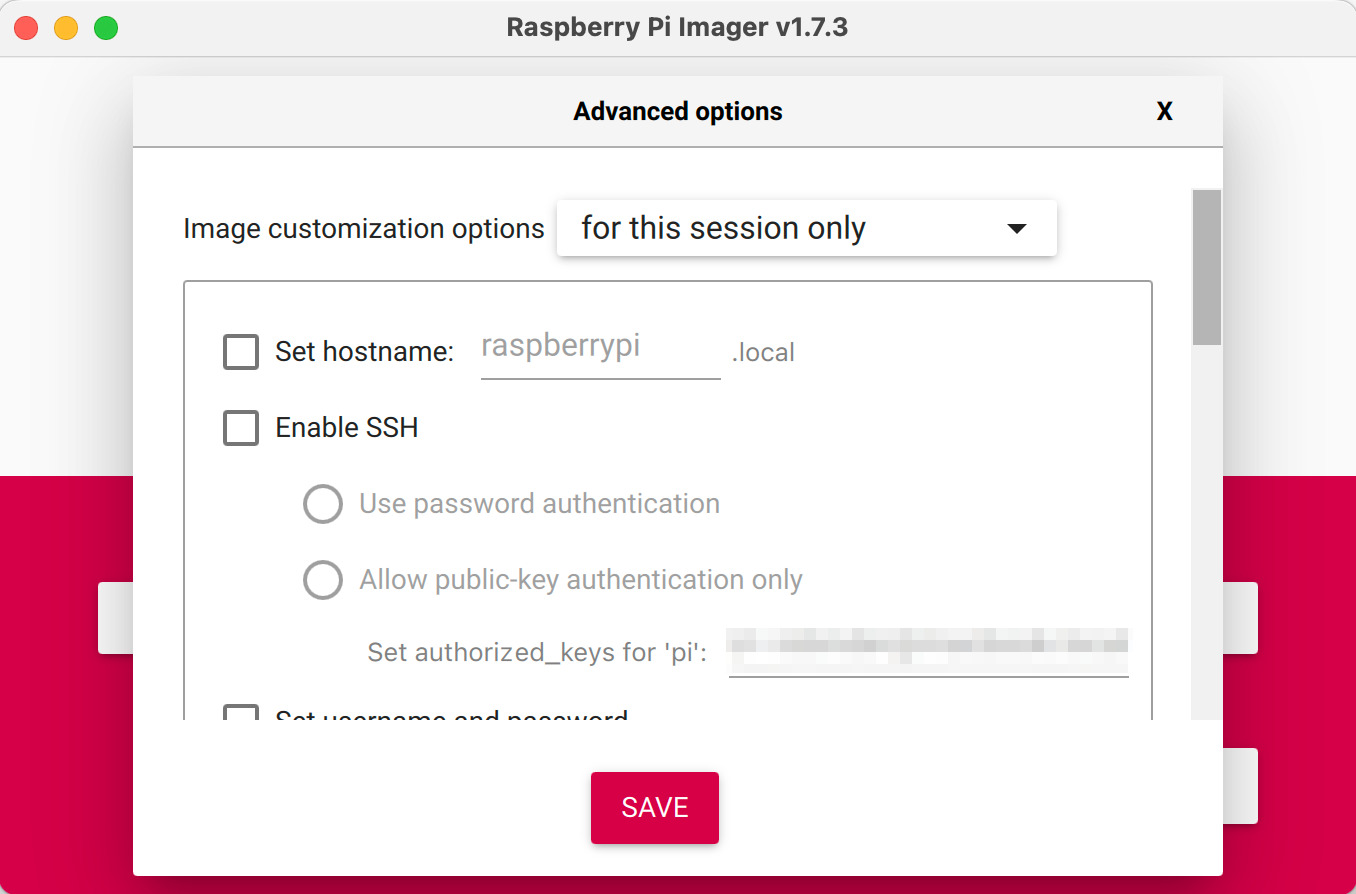
For the advanced menu options:
- hostname: set your hostname but write it down as you’ll need it to connect to the Pi without knowing the IP address. The Raspberry Pi OS comes preinstalled with Avahi which enables multicast DNS lookup
- SSH: enable SSH and select one of the two options. If you don’t have public keys configured on your host, use password authentication and I will demonstrate closer to the bottom of the post how to generate SSH keys
- Username and Password: configure the username and password for the Pi (if you select password authentication for SSH, you’ll need this)
- Wireless LAN: your Wi-Fi SSID and password
The rest of the options aren’t important but feel free to fill them in. Hit Save and Write.
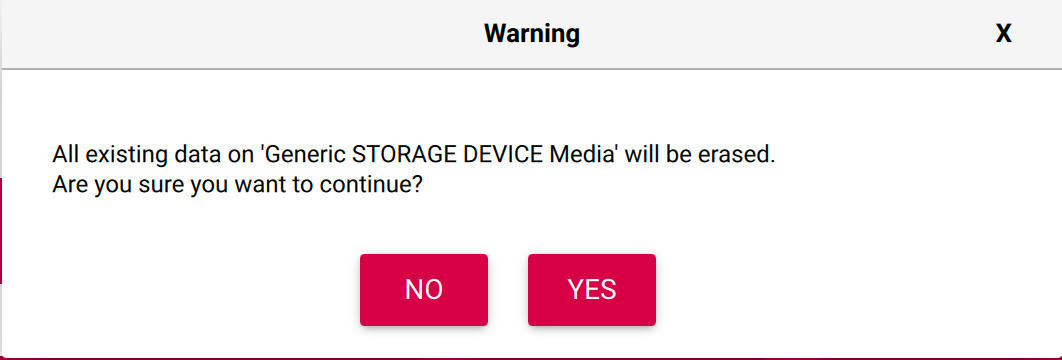
A prompt will appear warning you that the storage device will be overwritten. If you’re sure you selected the correct device, wipe it!
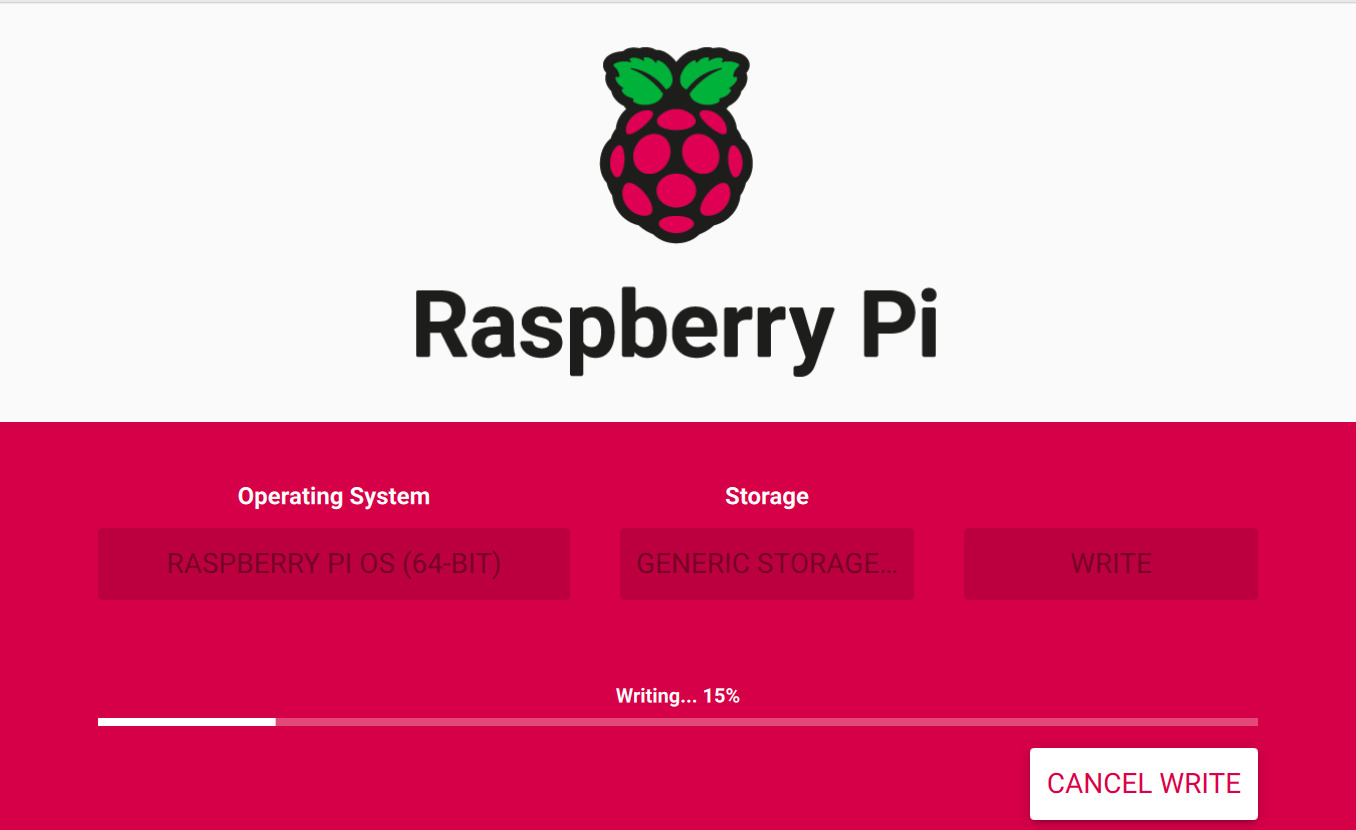
This will take a few minutes to write to the SD card but once it’s completed, we can insert the SD card into the Raspberry Pi and the device will appear on the network after a few minutes.
SSH with your username@hostname and your password if you selected password authentication.
robinder@Robins-Mac-mini ~ % ssh [email protected]
The authenticity of host 'pi.local (2607:fea8:bde0:850::71c4)' can't be established.
ED25519 key fingerprint is SHA256:XpsYdI05dOdxBEsDVYfAA99GN/mRdT5+JrGb9P5f4ko.
This key is not known by any other names
Are you sure you want to continue connecting (yes/no/[fingerprint])? yes
Warning: Permanently added 'pi.local' (ED25519) to the list of known hosts.
Linux pi 5.15.61-v8+ #1579 SMP PREEMPT Fri Aug 26 11:16:44 BST 2022 aarch64

The programs included with the Debian GNU/Linux system are free software;
the exact distribution terms for each program are described in the
individual files in /usr/share/doc/*/copyright.

Debian GNU/Linux comes with ABSOLUTELY NO WARRANTY, to the extent
permitted by applicable law.
Last login: Thu Sep 22 04:17:48 2022
robinder@pi:~ $
Configuring your Pi
The first thing to do is update the repositories and upgrade our packages.
Due to my previous shenanigans with my homelab, I pushed DNS servers for hosts that don’t exist. If you face this issue, you can manually update the DNS servers in your /etc/resolv.conf file. This configuration file is overwritten by the resolvctl service on reboots so I’ll also document how to configure DNS servers when we set a static IP for the Pi.
Original configuration:
robinder@pi:~ $ cat /etc/resolv.conf
# Generated by resolvconf
domain ht.home
nameserver ::1
Updated configuration:
robinder@pi:~ $ cat /etc/resolv.conf
# Generated by resolvconf
domain ht.home
nameserver 8.8.8.8
Now, we can finally perform our apt-get update and apt-get upgrade.
robinder@pi:~ $ sudo apt-get update
Get:1 http://security.debian.org/debian-security bullseye-security InRelease [48.4 kB]
Hit:2 http://deb.debian.org/debian bullseye InRelease
Get:3 http://deb.debian.org/debian bullseye-updates InRelease [44.1 kB]
Get:4 http://archive.raspberrypi.org/debian bullseye InRelease [23.6 kB]
Get:5 http://security.debian.org/debian-security bullseye-security/main armhf Packages [192 kB]
Get:6 http://security.debian.org/debian-security bullseye-security/main arm64 Packages [192 kB]
Get:7 http://security.debian.org/debian-security bullseye-security/main Translation-en [123 kB]
Get:8 http://deb.debian.org/debian bullseye-updates/main armhf Packages [12.0 kB]
Get:9 http://deb.debian.org/debian bullseye-updates/main arm64 Packages [12.0 kB]
Get:10 http://deb.debian.org/debian bullseye-updates/main Translation-en [7,929 B]
Get:11 http://archive.raspberrypi.org/debian bullseye/main arm64 Packages [299 kB]
Get:12 http://archive.raspberrypi.org/debian bullseye/main armhf Packages [308 kB]
Fetched 1,261 kB in 2s (649 kB/s)
Reading package lists... Done
robinder@pi:~ $ sudo apt-get upgrade
Reading package lists... Done
Building dependency tree... Done
Reading state information... Done
Calculating upgrade... Done
The following package was automatically installed and is no longer required:
  libfuse2
--------------- TRIMMED OUTPUT -----------------
Install the tools that you’d like! In my case, VIM!
Static IP
This section is optional but I prefer to manage the IP addresses for my devices on the network. I would especially prefer to maintain a DHCP/DNS server but that is going to be future Robin’s problem.
To set a static IP address, we need four pieces of information:
- interface: usually eth0 if connected through ethernet or wlan0 if connected through Wi-Fi
- router’s IP: usually your subnet with an octet ending in .1
- DNS server(s) to use
- desired static IP address
Open /etc/dhcpcd.conf with your editor of choice
robinder@pi:~ $ sudo vim /etc/dhcpcd.conf
Append the following lines and substitute the parameters
interface [INTERFACE]
static ip_address=[IP ADDRESS]/24
static routers=[ROUTER IP]
static domain_name_servers=[DNS Servers]
If the file contains uncommented lines related to a static IP configuration, remove them.
For my configuration, the added lines look like this.
interface wlan0
static ip_address=192.168.0.26/24
static routers=192.168.0.1
static domain_name_servers=8.8.8.8
Now reboot the Pi for the changes to persist.
robinder@pi:~ $ sudo reboot
Unclear why but my Pi didn’t reboot and remained in the off state. I had remove and plug in the power cable for it to power back on.
After SSHing back onto the Pi, verify the IP address for the interface.
robinder@pi:~ $ ip --brief a
lo               UNKNOWN        127.0.0.1/8 ::1/128
eth0             DOWN
wlan0            UP             192.168.0.26/24 2607:fea8:bde0:850::71c4/128
Great! If we exit from the SSH session and connect over the IP address, we should connect in the same fashion as we SSH’d via the hostname.
robinder@Robins-Mac-mini ~ % ssh [email protected]
The authenticity of host '192.168.0.26 (192.168.0.26)' can't be established.
ED25519 key fingerprint is SHA256:XpsYdI05dOdxBEsDVYfAA99GN/mRdT5+JrGb9P5f4ko.
This host key is known by the following other names/addresses:
    ~/.ssh/known_hosts:1: pi.local
Are you sure you want to continue connecting (yes/no/[fingerprint])? yes
Warning: Permanently added '192.168.0.26' (ED25519) to the list of known hosts.
Linux pi 5.15.76-v8+ #1597 SMP PREEMPT Fri Nov 4 12:16:41 GMT 2022 aarch64

The programs included with the Debian GNU/Linux system are free software;
the exact distribution terms for each program are described in the
individual files in /usr/share/doc/*/copyright.

Debian GNU/Linux comes with ABSOLUTELY NO WARRANTY, to the extent
permitted by applicable law.
Last login: Fri Nov 11 16:49:47 2022 from 192.168.0.68
As I verified the IP address, I noticed that /etc/resolv.conf did not update with the DNS servers I specified in the dhcpcd.conf file. Listing out the configuration that resolvctf was reading sudo resolvconf -l, the contents of resolv.conf was from the wlan0.dhcp6 interface but the configuration I specified in dhcpcd.conf was listed in the wlan0.dhcp interface. After some trial and error, I disabled ipv6 which fixed the issue.
To disable IPv6, add the following lines to /etc/sysctl.conf. At this point, you are modifying kernel variables so tread carefully.
net.ipv6.conf.all.disable_ipv6 = 1
net.ipv6.conf.default.disable_ipv6 = 1
net.ipv6.conf.lo.disable_ipv6 = 1
Execute
robinder@pi:~ $ sudo sysctl -p
which should list the lines you added to sysctl.conf. Now if you execute
robinder@pi:~ $ sudo cat /proc/sys/net/ipv6/conf/all/disable_ipv6
1
Reboot the Pi again and verify the DNS servers in /etc/resolv.conf.
robinder@pi:~ $ cat /etc/resolv.conf
# Generated by resolvconf
nameserver 8.8.8.8
Finally! And now we can move on from configuring our IP address.
Docker
Installing Docker is incredibly simple thanks a Bash script that will install all of the requirements for us.
robinder@pi:~ $ curl -sSL https://get.docker.com | sh
After the script has executed, we need to add the Pi user to the Docker group. Without this, the Pi user can’t execute docker comands.
Our current groups does not contain docker
robinder@pi:~ $ groups | grep -o docker
robinder@pi:~ $
Add the user to the group
robinder@pi:~ $ sudo usermod -aG docker robinder
Logout for the changes to take effect
robinder@pi:~ $ logout
Connection to pi.local closed.
Checking the groups again
robinder@pi:~ $ groups | grep -o docker
docker
We should be able to run docker commands without being root. Docker provides a hello-world repository to verify if your docker installation functioned.
robinder@pi:~ $ docker run hello-world
Unable to find image 'hello-world:latest' locally
latest: Pulling from library/hello-world
7050e35b49f5: Pull complete
Digest: sha256:faa03e786c97f07ef34423fccceeec2398ec8a5759259f94d99078f264e9d7af
Status: Downloaded newer image for hello-world:latest

Hello from Docker!
This message shows that your installation appears to be working correctly.
Listing out all stopped and running containers
robinder@pi:~ $ docker ps -a
CONTAINER ID   IMAGE         COMMAND    CREATED              STATUS                          PORTS     NAMES
a6809696ef10   hello-world   "/hello"   About a minute ago   Exited (0) About a minute ago             zealous_lehmann
Remove the exited container
robinder@pi:~ $ docker rm zealous_lehmann
zealous_lehmann
Remove the hello-world image
robinder@pi:~ $ docker image ls
REPOSITORY    TAG       IMAGE ID       CREATED        SIZE
hello-world   latest    46331d942d63   7 months ago   9.14kB
robinder@pi:~ $ docker image rm hello-world
Untagged: hello-world:latest
Untagged: hello-world@sha256:faa03e786c97f07ef34423fccceeec2398ec8a5759259f94d99078f264e9d7af
Deleted: sha256:46331d942d6350436f64e614d75725f6de3bb5c63e266e236e04389820a234c4
Deleted: sha256:efb53921da3394806160641b72a2cbd34ca1a9a8345ac670a85a04ad3d0e3507
Attaching an External Storage Device
Once again, this section is optional.
If the external storage device is not plugged in, attach it now and use the lsblk command to identify the device name.
robinder@pi:~ $ lsblk -f
NAME        FSTYPE FSVER LABEL  UUID                                 FSAVAIL FSUSE% MOUNTPOINT
sda
└─sda1      ext4   1.0          b4881f35-5b06-47b4-842c-df9ee8c82b43    3.4T     1% /media/robinder/b4881f35-5b06-47b4-842c-df9ee8c82b43
mmcblk0
├─mmcblk0p1 vfat   FAT32 boot   3772-58CD                             223.2M    12% /boot
└─mmcblk0p2 ext4   1.0   rootfs ee7f279a-1fe9-4c98-9f3c-83c7173683b7   23.9G    13% /
The device I attached is located at /dev/sda1 and it has been automounted to /media but we can modify this. The mmcblk0 device is the SD card with the flashed Pi OS. Keep in mind, these ID’s may be different for you.
Another way to view the devices attached to your Pi is with the blkid command
robinder@pi:~ $ blkid
/dev/mmcblk0p1: LABEL_FATBOOT="boot" LABEL="boot" UUID="3772-58CD" BLOCK_SIZE="512" TYPE="vfat" PARTUUID="be42dfe6-01"
/dev/mmcblk0p2: LABEL="rootfs" UUID="ee7f279a-1fe9-4c98-9f3c-83c7173683b7" BLOCK_SIZE="4096" TYPE="ext4" PARTUUID="be42dfe6-02"
/dev/sda1: UUID="b4881f35-5b06-47b4-842c-df9ee8c82b43" BLOCK_SIZE="4096" TYPE="ext4" PARTUUID="8189959c-d280-4a40-9d4a-6334d64319de"
Since my storage device has been automounted, I need to unmount it first.
robinder@pi:~ $ sudo umount /media/robinder/b4881f35-5b06-47b4-842c-df9ee8c82b43
Using the lsblk command again
robinder@pi:~ $ lsblk -f
NAME        FSTYPE FSVER LABEL  UUID                                 FSAVAIL FSUSE% MOUNTPOINT
sda
└─sda1      ext4   1.0          b4881f35-5b06-47b4-842c-df9ee8c82b43
mmcblk0
├─mmcblk0p1 vfat   FAT32 boot   3772-58CD                             223.2M    12% /boot
└─mmcblk0p2 ext4   1.0   rootfs ee7f279a-1fe9-4c98-9f3c-83c7173683b7   23.9G    13% /
There’s no mountpoint for /dev/sda1. Before specifying a mountpoint for the storage device, make a directory for where you want to mount it.
robinder@pi:~ $ sudo mkdir /mnt/externalhdd
Mount the storage device there
robinder@pi:~ $ sudo mount /dev/sda1 /mnt/externalhdd
There’s no output but if you have files on the storage device previously, list the contents of the directory to verify that it mounted correctly.
lsblk once again
robinder@pi:~ $ lsblk -f
NAME        FSTYPE FSVER LABEL  UUID                                 FSAVAIL FSUSE% MOUNTPOINT
sda
└─sda1      ext4   1.0          b4881f35-5b06-47b4-842c-df9ee8c82b43    3.4T     1% /mnt/externalhdd
mmcblk0
├─mmcblk0p1 vfat   FAT32 boot   3772-58CD                             223.2M    12% /boot
└─mmcblk0p2 ext4   1.0   rootfs ee7f279a-1fe9-4c98-9f3c-83c7173683b7   23.9G    13% /
Manually mounting the device will not persist across reboots unless we add it to the /etc/fstab file.
The format of the fstab file is:
<file system> <mount point> <type> <options> <dump> <pass>
These columns represent 2:
- Filesystem : you can either specify a UUID (for universal unique identifier), a label (if you chose a label for your disk), a network ID or a device name (which is not recommended at all);
- Mountpoint : the directory on the filesystem that you are going to use in order to access data stored on the disk;
- Filesystem type : the type of filesystem you use to format your disk;
- Options : some options that you can specify in order to tune your mount (“ro” for a read-only mount or “noexec” to prevent binary execution);
- Dump : in order to enable to disable filesystem dumping on the system (using the dump command);
- Pass Num : sets the order used in order for the “fsck” utility to check your filesystem. If you are not mounting the root device, you should set this option to “2” or “0” as “1” is reserved for the root device.
For myself, the entry in the fstab file look like
robinder@pi:~ $ tail -1 /etc/fstab
UUID=b4881f35-5b06-47b4-842c-df9ee8c82b43 /mnt/externalhdd ext4 defaults 0 2
The UUID is obtained from the output of the lsblk or blkid command. The mountpoint is where to mount the device, and the type is an ext4 filesystem that I found from the output of the lsblk/blkid commands. The remaining options I set as defaults.
Close and save the file. If we reboot the system, our device should be mounted to our specified mountpoint.
robinder@pi:~ $ lsblk -f
NAME        FSTYPE FSVER LABEL  UUID                                 FSAVAIL FSUSE% MOUNTPOINT
sda
└─sda1      ext4   1.0          b4881f35-5b06-47b4-842c-df9ee8c82b43    3.4T     1% /mnt/externalhdd
mmcblk0
├─mmcblk0p1 vfat   FAT32 boot   3772-58CD                             223.2M    12% /boot
└─mmcblk0p2 ext4   1.0   rootfs ee7f279a-1fe9-4c98-9f3c-83c7173683b7   23.9G    13% /
SSH Key authentication
SSH keys are more secure than password based authentication and more convenient. If you don’t have an SSH key configured on your Mac or Linux system, then continue on. I apologize in advance if you use Windows.
The previous sections of the article, I used my Mac Mini to write the Raspberry Pi OS to the SD card and the SSH key I added originally was from the Mac Mini. The following section describing how to generate the SSH key will float between my Macbook and the Raspberry Pi.
When configuring the SD card, if you did not use public key authentication or even if you did but want to add additional keys, generate the key-pair using ssh-keygen.
If using the default options for the command, just press
robinder@macbook ~ % ssh-keygen
Generating public/private rsa key pair.
Enter file in which to save the key (/Users/robinder/.ssh/id_rsa):
Enter passphrase (empty for no passphrase):
Enter same passphrase again:
Your identification has been saved in /Users/robinder/.ssh/id_rsa
Your public key has been saved in /Users/robinder/.ssh/id_rsa.pub
Use the ssh-copy-id command to copy the public key file to the Raspberry Pi user.
robinder@macbook ~ % ssh-copy-id -i ~/.ssh/id_rsa.pub [email protected]
/usr/bin/ssh-copy-id: INFO: Source of key(s) to be installed: "/Users/robinder/.ssh/id_rsa.pub"
The authenticity of host 'pi.local (192.168.0.26)' can't be established.
ED25519 key fingerprint is SHA256:XpsYdI05dOdxBEsDVYfAA99GN/mRdT5+JrGb9P5f4ko.
This key is not known by any other names
Are you sure you want to continue connecting (yes/no/[fingerprint])? yes
/usr/bin/ssh-copy-id: INFO: attempting to log in with the new key(s), to filter out any that are already installed
/usr/bin/ssh-copy-id: INFO: 1 key(s) remain to be installed -- if you are prompted now it is to install the new keys
[email protected]: Permission denied (publickey).
I potentially expected this error to occur for myself. If you specified public-key authentication, follow the steps on the Raspberry Pi and your host computer to solve this issue.
On the Pi, execute the following command.
robinder@pi:~ $ grep PasswordAuthentication /etc/ssh/sshd_config
PasswordAuthentication no
Since we specified public-key authentication and not password authentication in the first step to write the OS to the SD card, this will be set to no. When I tried to copy the public key from the Macbook to the Pi, the Pi switched to password authentication since no public/private key pair matched. With password authentication disabled, we can’t copy keys unless we enable password authentication or copy and paste it into the authorized_keys file.
Change the value to yes and restart the SSHD service.
robinder@pi:~ $ grep PasswordAuthentication /etc/ssh/sshd_config
PasswordAuthentication yes
robinder@pi:~ $ sudo service sshd restart
If I run the command from the Macbook again
robinder@macbook ~ % ssh-copy-id -i ~/.ssh/id_rsa.pub [email protected]
/usr/bin/ssh-copy-id: INFO: Source of key(s) to be installed: "/Users/robinder/.ssh/id_rsa.pub"
/usr/bin/ssh-copy-id: INFO: attempting to log in with the new key(s), to filter out any that are already installed
/usr/bin/ssh-copy-id: INFO: 1 key(s) remain to be installed -- if you are prompted now it is to install the new keys
[email protected]'s password:

Number of key(s) added:        1

Now try logging into the machine, with:   "ssh '[email protected]'"
and check to make sure that only the key(s) you wanted were added.
If I SSH from the Macbook now
robinder@macbook ~ % ssh [email protected]
Linux pi 5.15.76-v8+ #1597 SMP PREEMPT Fri Nov 4 12:16:41 GMT 2022 aarch64

The programs included with the Debian GNU/Linux system are free software;
the exact distribution terms for each program are described in the
individual files in /usr/share/doc/*/copyright.

Debian GNU/Linux comes with ABSOLUTELY NO WARRANTY, to the extent
permitted by applicable law.
Last login: Fri Nov 11 18:06:52 2022 from 192.168.0.68
robinder@pi:~ $
Amazing! Disable the password authentication and restart the service if needed.
Backup
The last thing I would recommend is to backup the SD card to your computer. This behaves as a very weak snapshotting system but better than nothing.
First, shutdown the Pi.
robinder@pi:~ $ sudo shutdown now
Remove the SD card and insert it into your computer. The following instructions will be completed on the Mac Mini so use the appropriate software on your system to copy byte for byte from an SD card.
List the attached devices
robinder@Robins-Mac-mini ~ % diskutil list
/dev/disk4 (external, physical):
#: TYPE NAME SIZE IDENTIFIER
0: FDisk_partition_scheme *31.9 GB disk4
1: Windows_FAT_32 boot 268.4 MB disk4s1
2: Linux 31.6 GB disk4s2
I removed other devices from the list but the Pi boot partition is named as Windows_FAT_32 boot and has the name /dev/disk4. Your device names may be different.
To copy the contents of the disk to a file, use the dd command.
robinder@Robins-Mac-mini ~ % sudo dd if=/dev/disk4 of=./Backups/PI/20221111_piSDCardBackup.dmg
This will take some time as the entire 32 GB SD card is being written. Once it’s written, eject the SD card safely.
If we wanted to restore the SD card from our back, use the following commands.
robinder@Robins-Mac-mini ~ % diskutil unmountDisk /dev/disk4
robinder@Robins-Mac-mini ~ % sudo dd if=./Backups/PI/20221111_piSDCardBackup.dmg of=/dev/disk4
Eject the SD card safely and insert into the Pi to pick up from your last save.
Conclusion
This was a long post but I shared my journey of addressing issues as I encountered them which many posts do not do.
In future posts (hopefully shorter), I will document the steps to configure other software for the Pi or other parts of my home lab. At the end of this post, you should have a functioning Pi that is ready for any tasks you assign it.