Creating my first Linux VM in Proxmox
It’s been a few months since I have worked on my home lab but after learning about Cloudflare Tunnels, it has reinvigorated the youth in me to tackle this problem again. Over the next couple of blog posts, I will document my findings about this technology the best that I can.
The one caveat being which I mentioned I would do in a previous post is to document how to install Proxmox on baremetal hardware which I don’t think I will do anymore. There are several fantastic resources out there such as this and this. It’s mentioned in the second article but I’ll mention it here as well. You must also confirm that the machine you’re using supports virtualization and that it’s enabled in the BIOS.
Introduction
This post will cover creating our first Linux VM in Proxmox VE 7 and perform some basic configuration. I will cover creating a Windows VM in a future post. Now, browse to your Proxmox instance from the browser and let’s get started.
Downloading your first ISO
Expand the tab on the left-hand side and the default space to save ISOs should be local. Click local, then select ISO images, and there should be two buttons. If you have the ISO saved on your system, you can upload it to Proxmox. Alternatively, Proxmox will accept a URL that it will download from. Select Download from URL, enter the URL, click Query URL, and then Download. A task modal will appear with the status of the download.
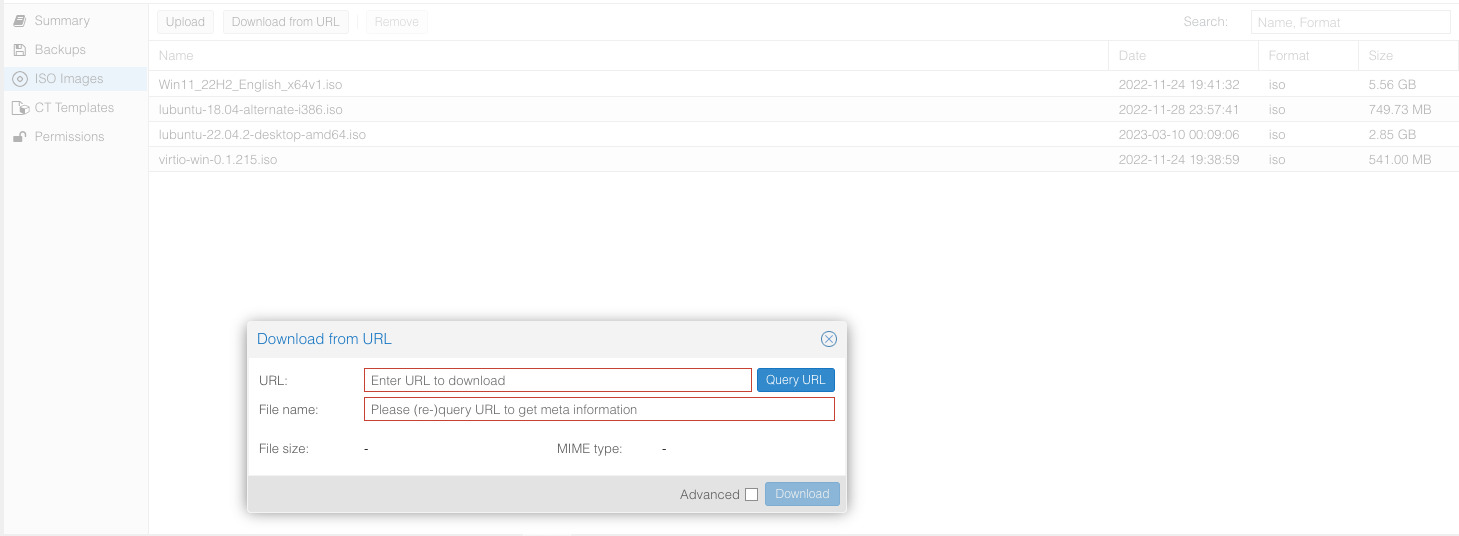
I have a couple of ISOs already so I’ll use the lightweight Ubuntu 22.04 Desktop image to create my first VM.
Creating the VM
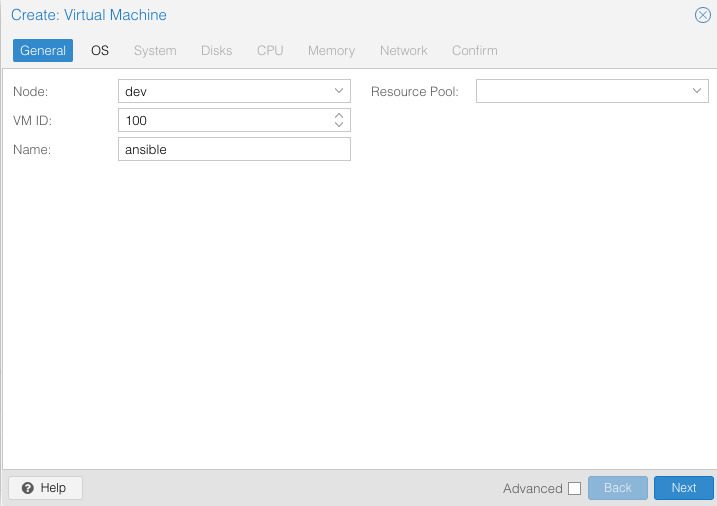
In the top ribbon of the Proxmox GUI, there’s a bright blue button that says Create VM. Select that button!
Select the node, VM ID, and the name of the VM (just a way to represent it in Proxmox) and proceed to the OS options.
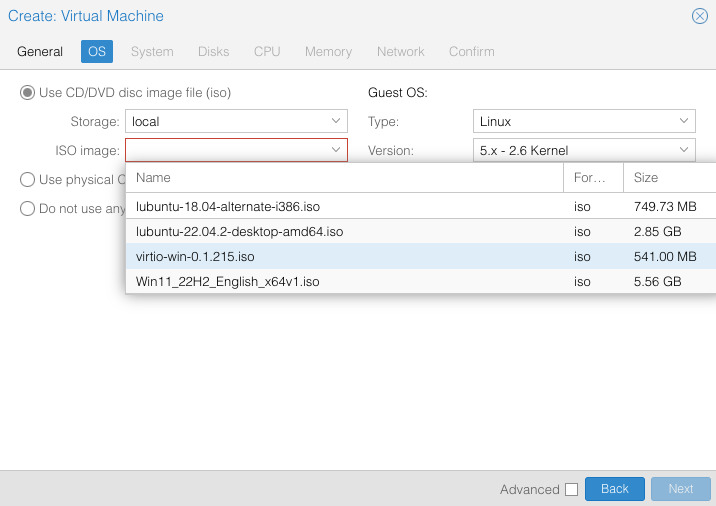
Select the ISO image that you downloaded from the local storage option.
Keep the default options on the System tab.
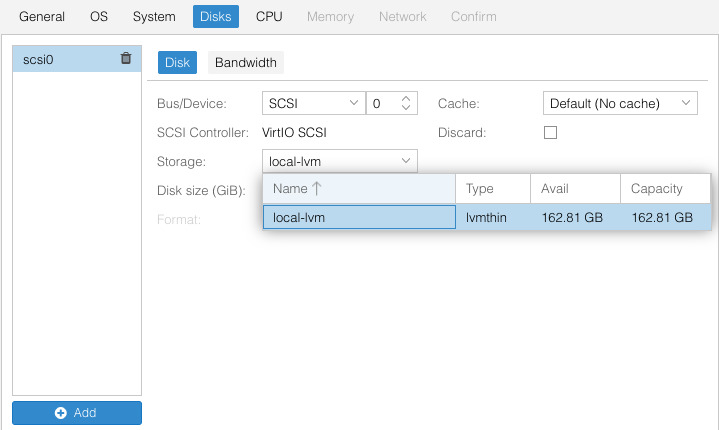
For Disks, select the volume associated with the Storage and the Disk size. For me, this is the default local-lvm and 32GB.
For the CPU, increase the Cores from 1 to 2 but this option may vary depending on your hardware.

Increase the memory to the amount that you’d like to set it to. I left mine at 2048MB but keep in mind that all of the above options can be modified after the VM creation step.
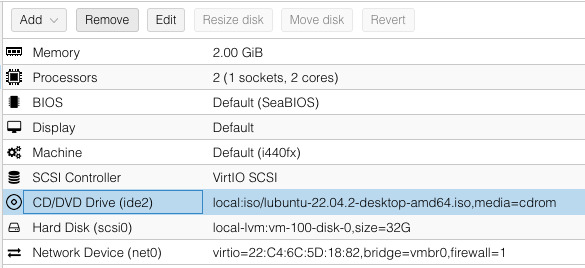
Below are the configured options for my hardware.
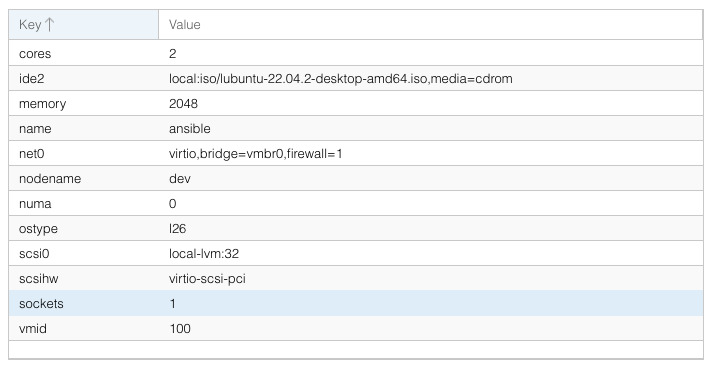
If you’re content with the options, click on the VM ID from the left-hand size, start the VM, and open the console tab.
Installing the OS
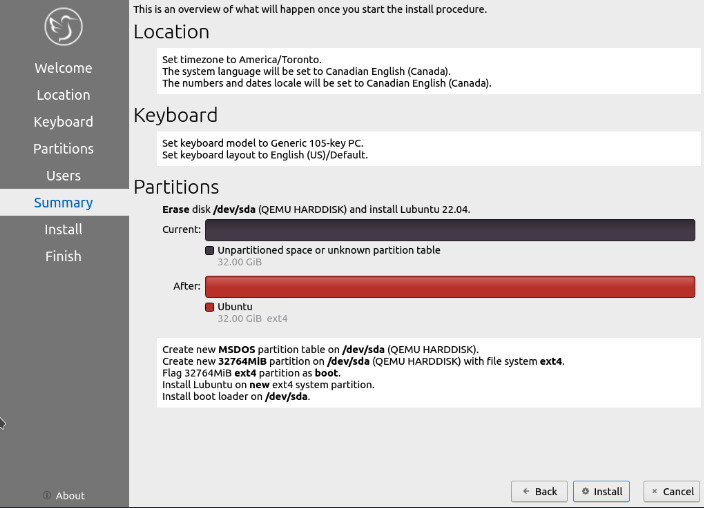
Depending on the ISO that you select, you may be prompted to install the OS to disk with a really rustic menu options that makes it seem like you don’t live in the 21st century. The ISO that I chose actually presents me with a graphical interface with a button on the desktop to install the OS.

Each OS varies but for Ubuntu based systems, the options are typically:
- Select your location.
- The default keyboard language to use.
- Installing the OS on the attached disk (I always select Erase disk since Proxmox handles only allocating the portion that we assigned in the previous section).
- Creating your user and password.
- Summary
- Finally, install!
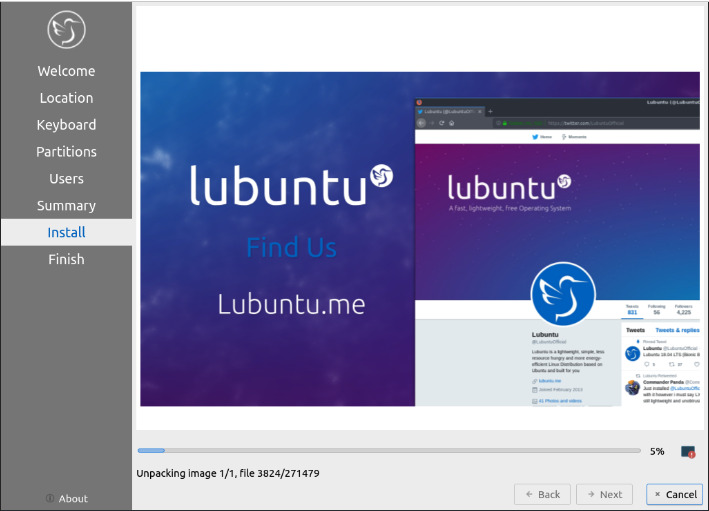
In the image below, the OS installation does take a bit of time so grab a coffee or something and hang back.
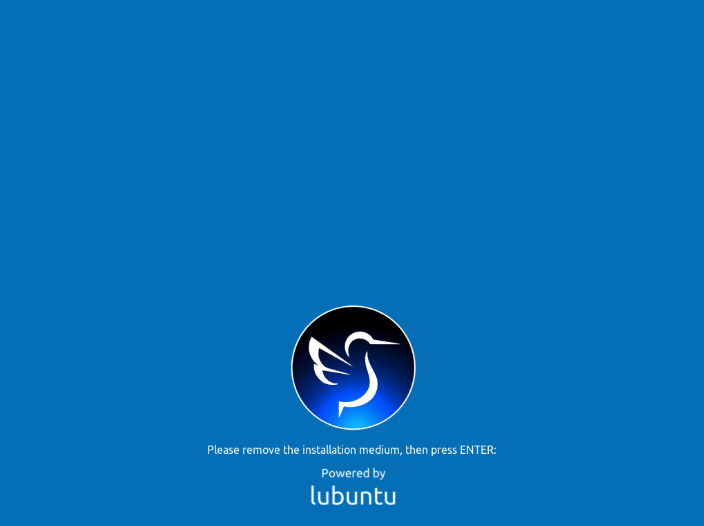
Once the OS has completed installation, the system may prompt you to reboot or reboot on its own but you will need to remove the ISO from the CD/DVD drive. Depending on how the bootloader is configured, it may boot from the ISO installation media before it boots from disk so let’s take care of that.
Conclusion
Once you remove the installation media, log into your account and now you should have a Linux VM configured and ready to go!